

How to Light an Interview Video
There are many different options when it comes to lighting an interview and they largely depend on what you have to work with, what camera angles you’re planning, and factors individually related to the interview itself. Learning how to light an interview video is important for beginning filmmakers and for those interested in producing interview videos for business.
These tips on how to light an interview video for your upcoming interview, testimonials, or client feedback video project will help you get set for success:
Gather Equipment
You’re going to need at least two lights in order to produce the depth and tone that is desired. Ideally, you’ll have at least 3 lights to work with, this way you have more flexibility and can produce the desired visible distinction between the subject and his or her background.
Learning how to light an interview video is something that even advanced filmmakers sometimes struggle with because there are so many options and so many potential ways to achieve the look that you want.
Simple is easier in my opinion, and better because it requires less transport of equipment which means less to carry and less to remember!
Ideally, you’ll have a soft light source or light that can be used for your subject, a secondary light that is a bit stronger for your background, and a trim or back light that can be used to produce depth between the subject and the background.
A softbox is also an important piece of equipment to have when you’re learning how to light an interview video.
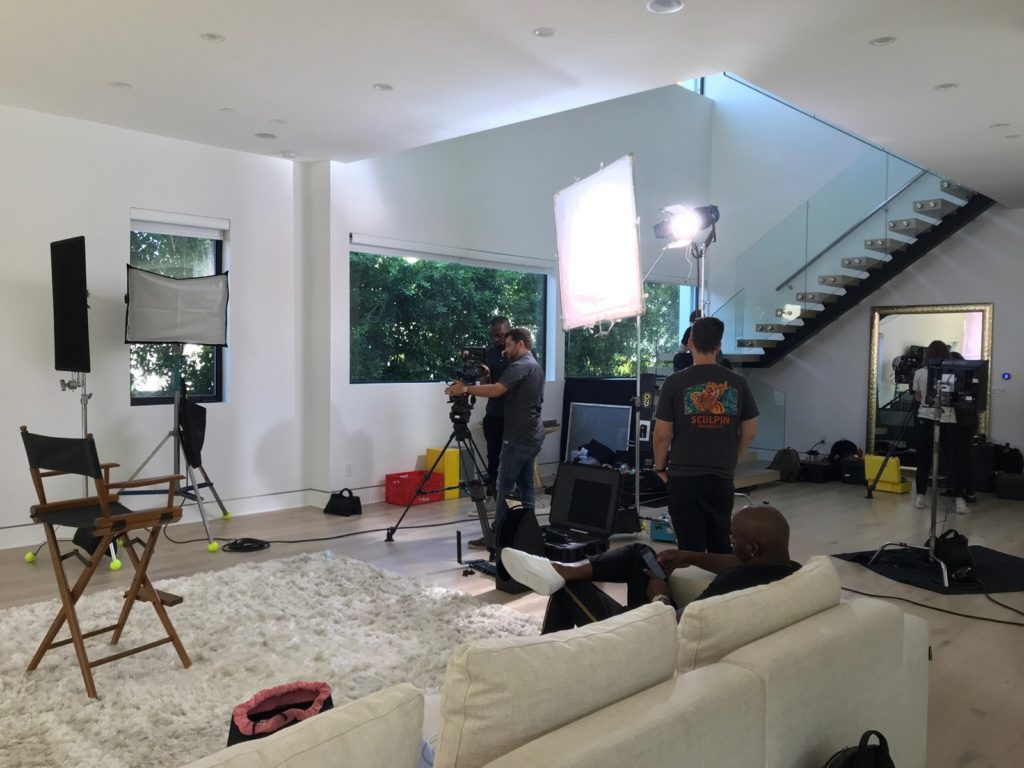
Setting up the Interview Lighting
For most interviews, a natural balanced light is going to perform best. To achieve this setup, you’re going to use the natural light of a window to provide the majority of your light in the room.
Overhead lighting is acceptable here as well, just make sure it’s not overdone. You want some lighting, but nothing overly bright.
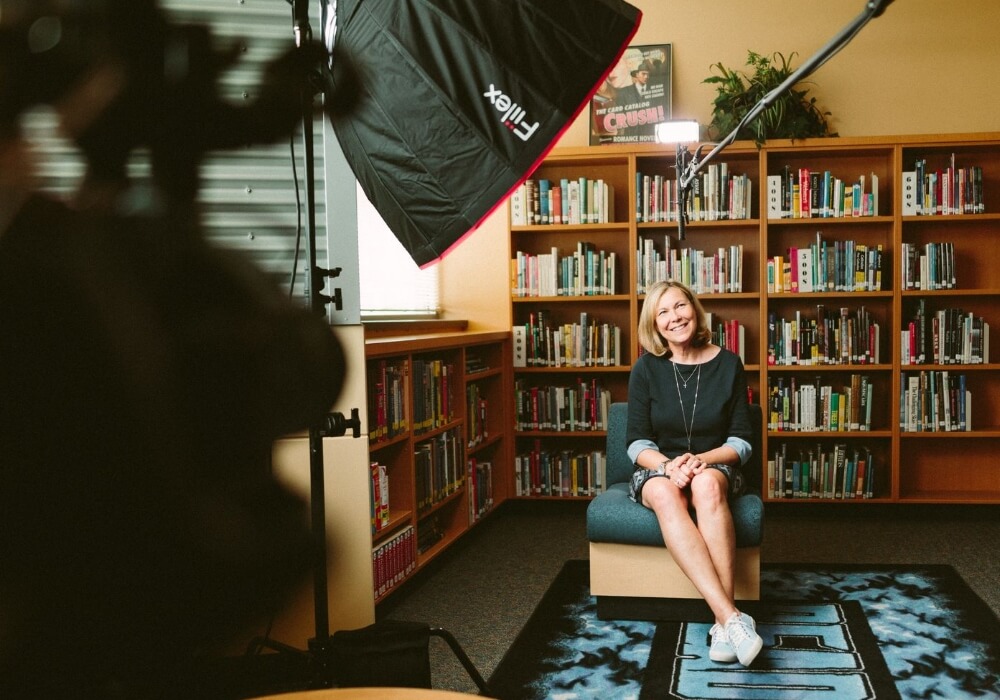
The subject in the center of the view, will NOT have light directly shone at him or her. Shining the light directly from the front will create a lack of depth and tone.
Instead, place your light to the left of your camera so that it shines to the front side of the subject. Use a softer light, directed from the left side of the subject, to provide some fill.
Place a bead board on the other side. Bounce the light off the board to reduce the shadow effect. If you have too much light coming in from the window, consider diffusing it with some cloth to produce a softer light.
The idea is to produce just enough light from the side of the subject so that you can easily, and clearly see the features of the subject and the depth between the background.
If you’re working with light that you cannot control, that should be your focus. For example, if you have a window that produces too much light, or the ambient lighting is too strong and you cannot turn them off, you can adjust your exposure level on your camera.
Then, bring lights into your interview to produce the desired effects.
Learning how to light an interview video is really about testing out all of the options available to you and taking time to visualize what it is you want to achieve with the lighting.
For a darker, more refined look, consider harder lighting in distinct areas to produce the desired tone. For a more trustworthy, balanced effect that will help the audience feel connected with the speaker, soften the light source and always light from the side, not directly in front!