Quick Tips on How to Light a Talking Head Video Like a Pro
Talking head videos are increasingly being used in blog posts, sales and marketing videos, online courses, and customer testimonials or case studies, too. They’re incredibly popular for any type of content that involves interviewing a subject matter expert or really any subject for that matter. And for most business owners, talking head videos are the go-to because they’re affordable, easy to produce, and powerful, but learning how to light a talking head video the way a professional videographer would is a step that is often overlooked.
Producing talking head videos that actually come across as professionally created really all goes back to the lighting. Even a great video will come across as poorly produced if the lighting isn’t good. More so, a poorly lighted talking head video may result in a loss of audience interest, fewer conversions, and an overall level of dissatisfaction from the audience that is something no business owner wants.
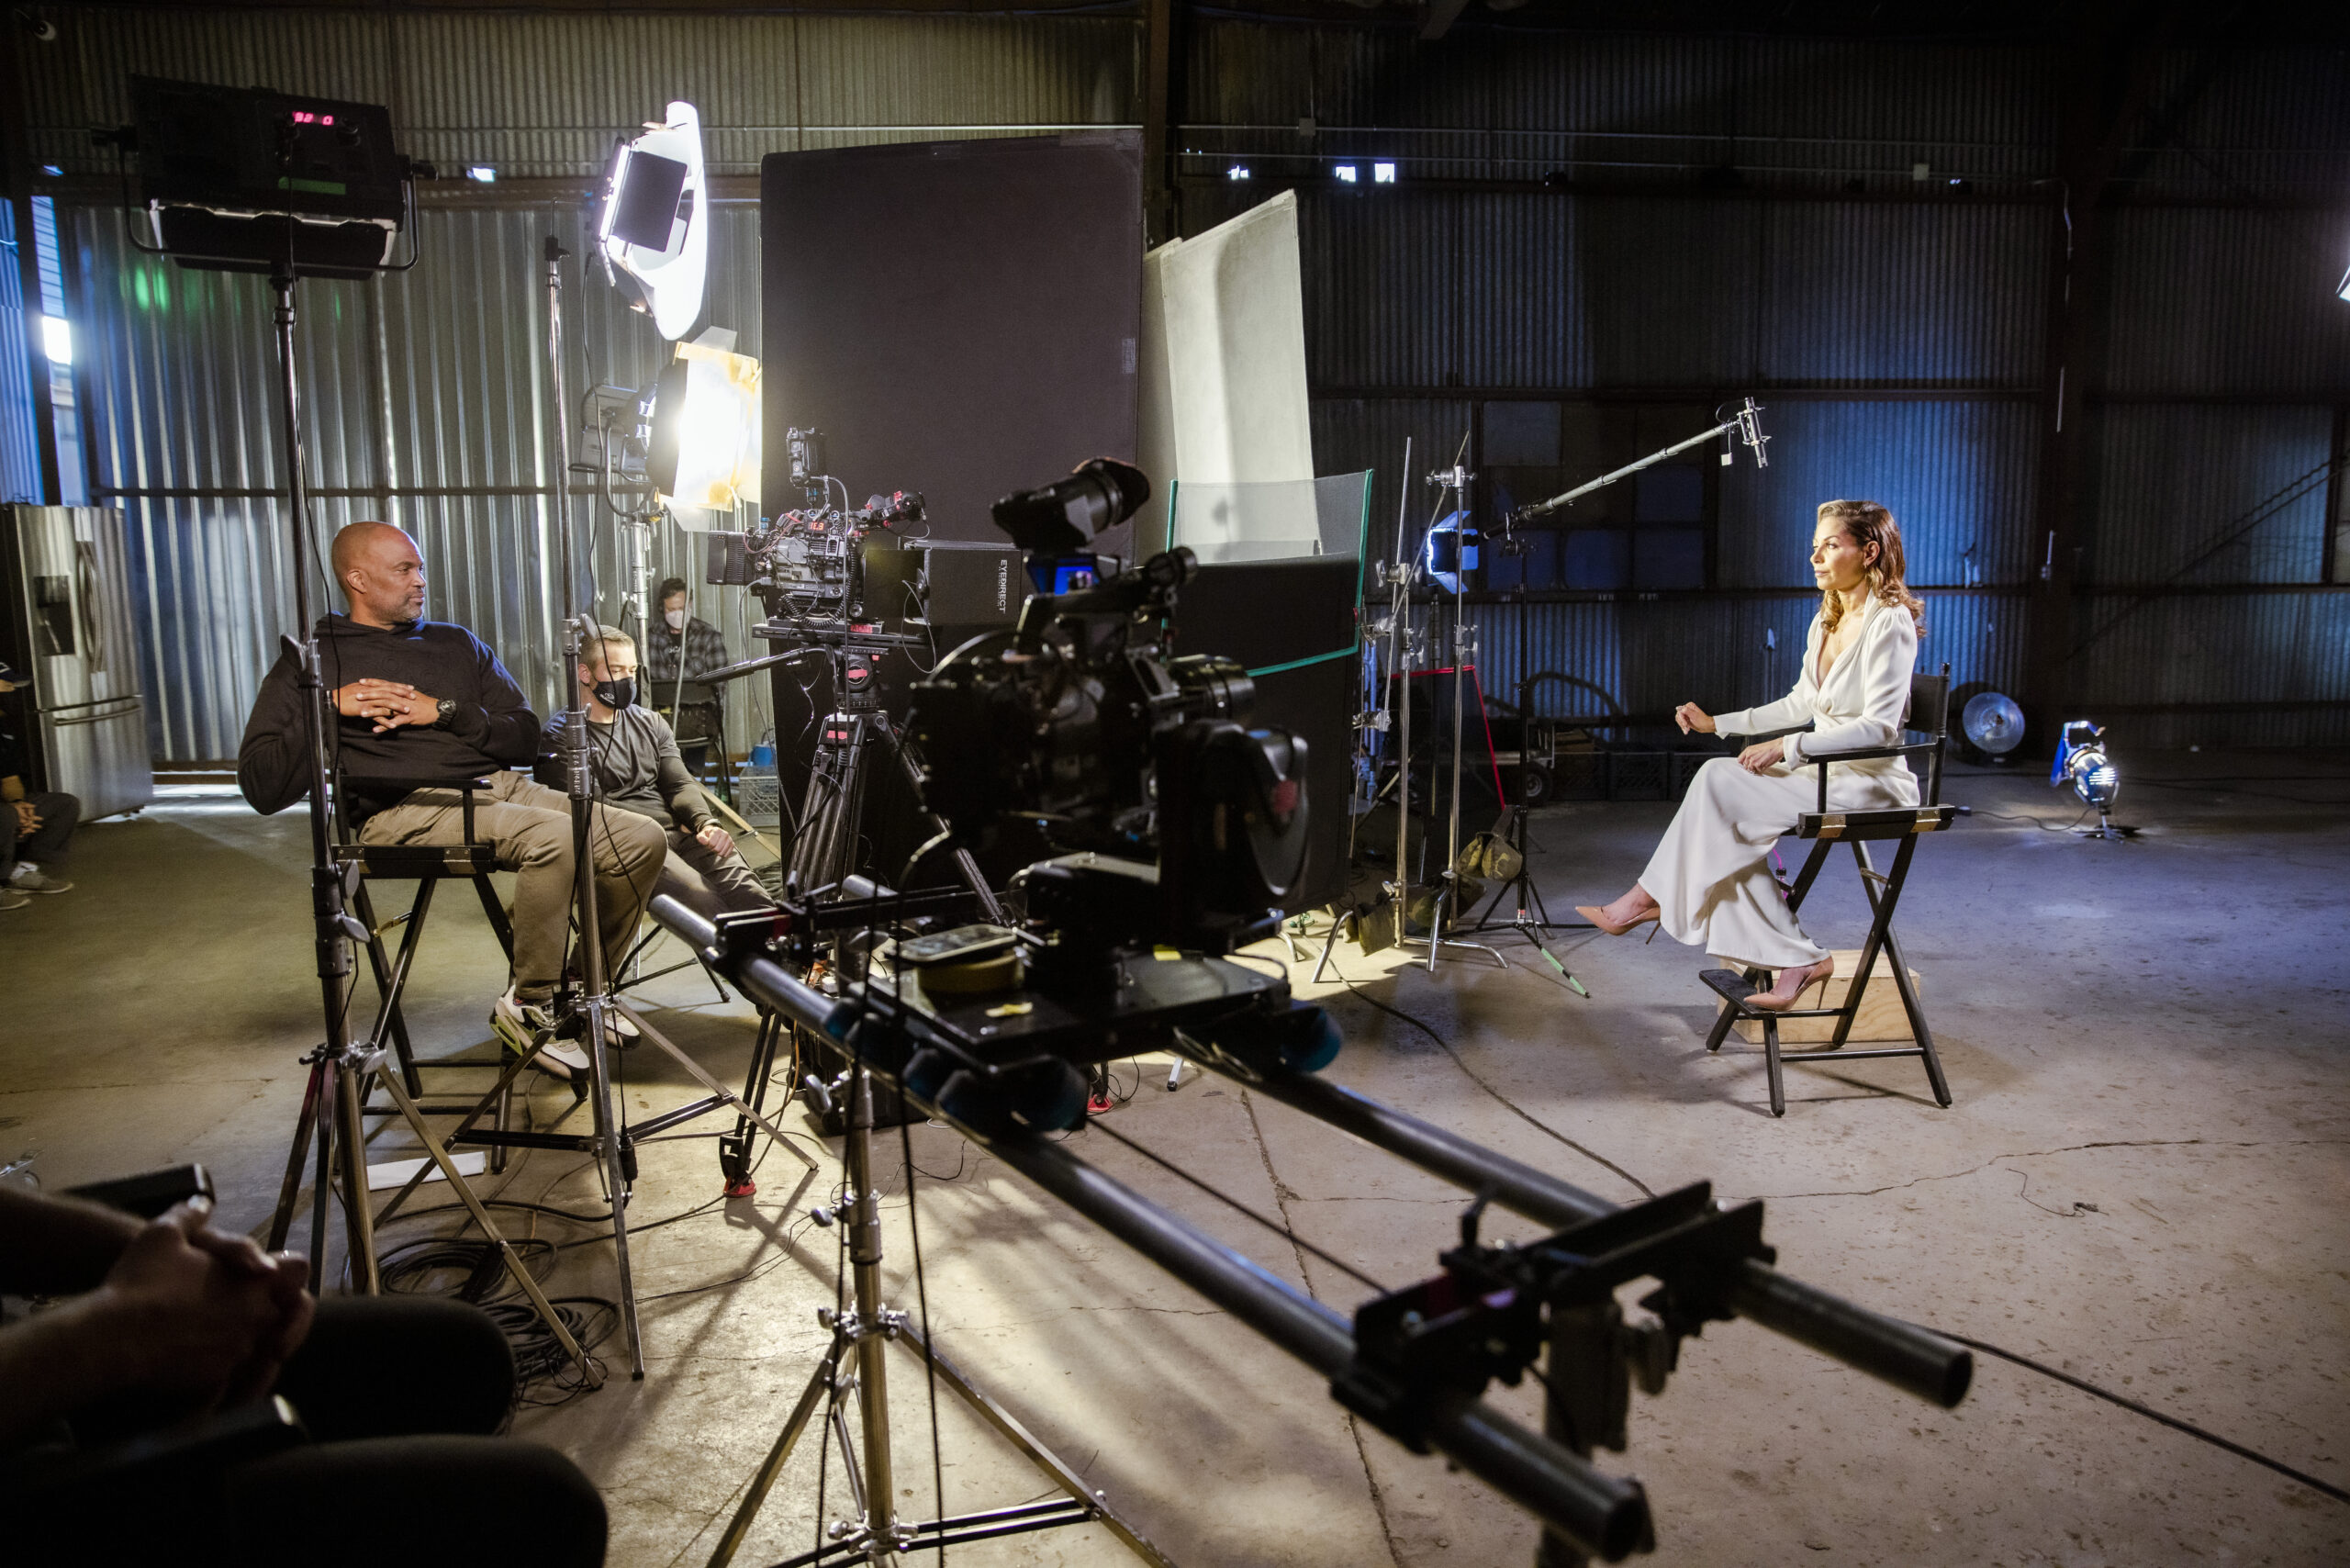
At Beverly Boy Productions we frequently work with clients on the production of top quality talking head videos and one of the key factors that we tend to focus on is the lighting. Fortunately, we’ve got all of the gear and equipment that we need to create a variety of desired effects for our talking head videos, but for a DIY video creator or business owner that’s simply interested in producing a short talking head video to showcase a customer testimonial or client interview, there may be less equipment and substantially less knowledge of lighting involved.
If you’re interested in learning how to light a talking head video the way a professional videographer would, we’ve got some tips for you. Follow along to learn all about how to light a talking head video just like we do at Beverly Boy Productions.

Get Started with a 3-Point Lighting Setup
First and foremost, consider a 3-point lighting setup for your talking head video. Essentially, this is the bare minimum equipment that you should have if you’re going to produce a professional looking talking head video rather than hire a professional.
Your 3-point lighting for a talking head video is going to include:
- A Key light.
- A Background light.
- A Fill light.
Setting the Key Light for a Talking Head Video
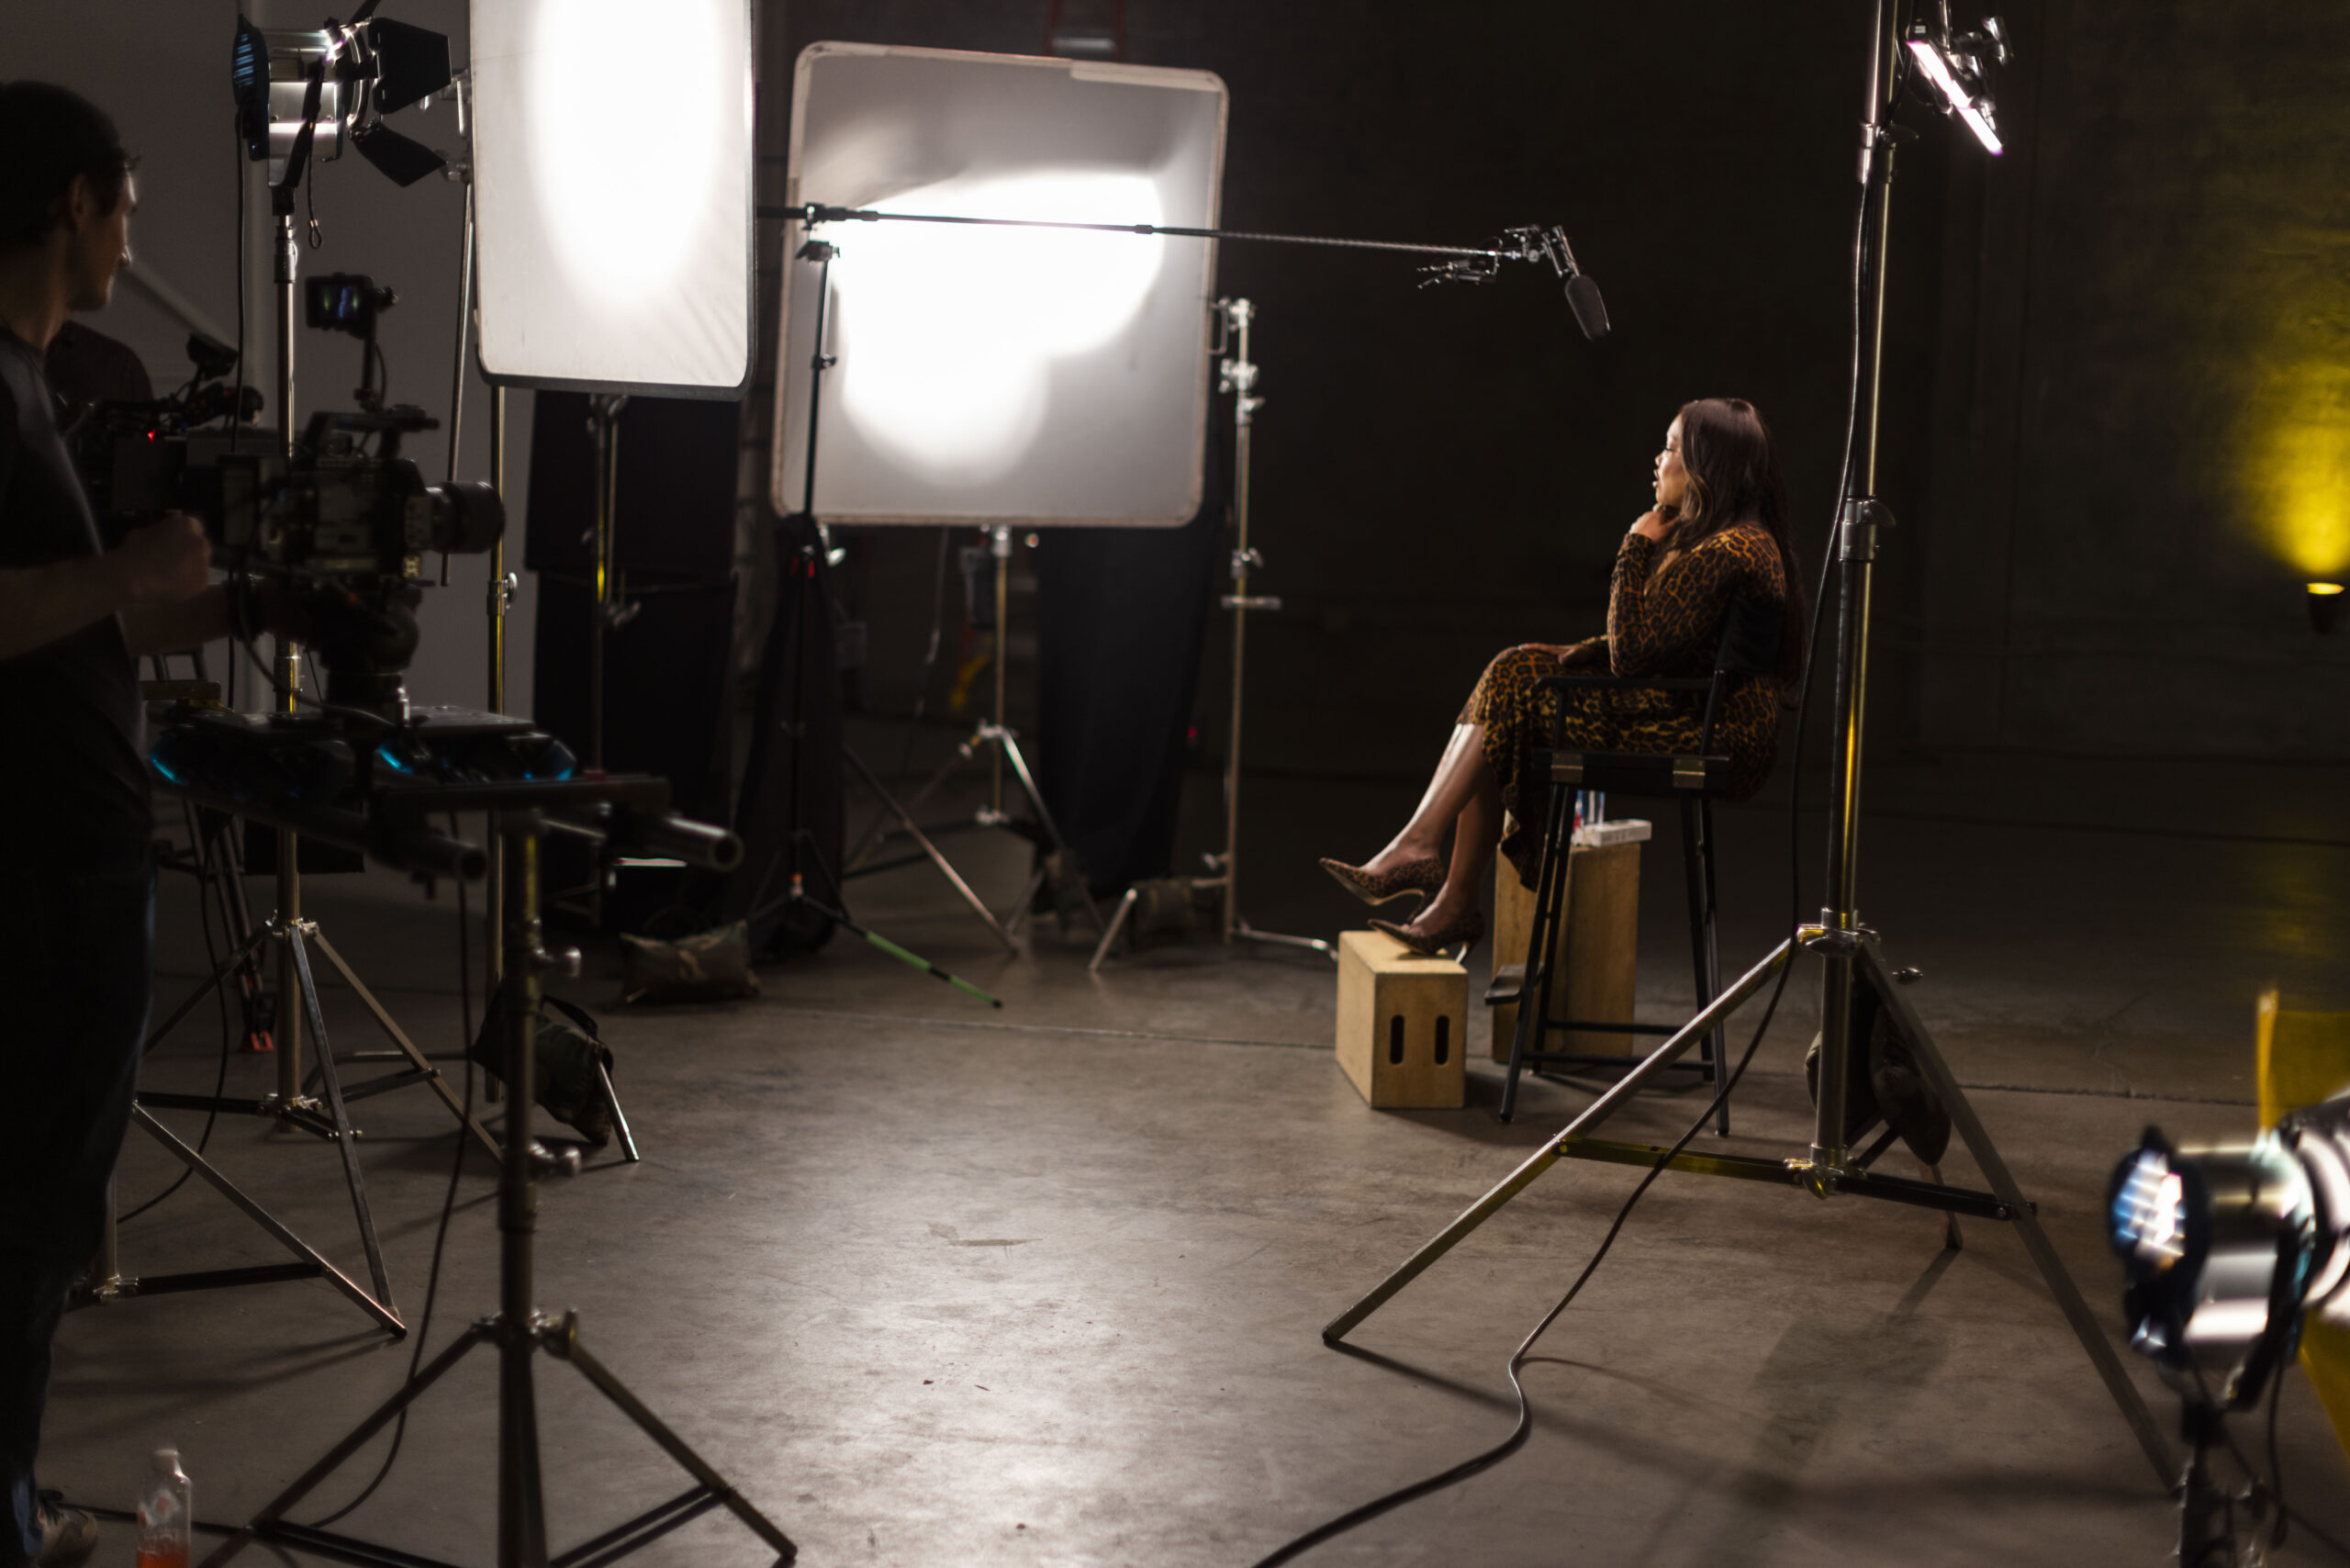
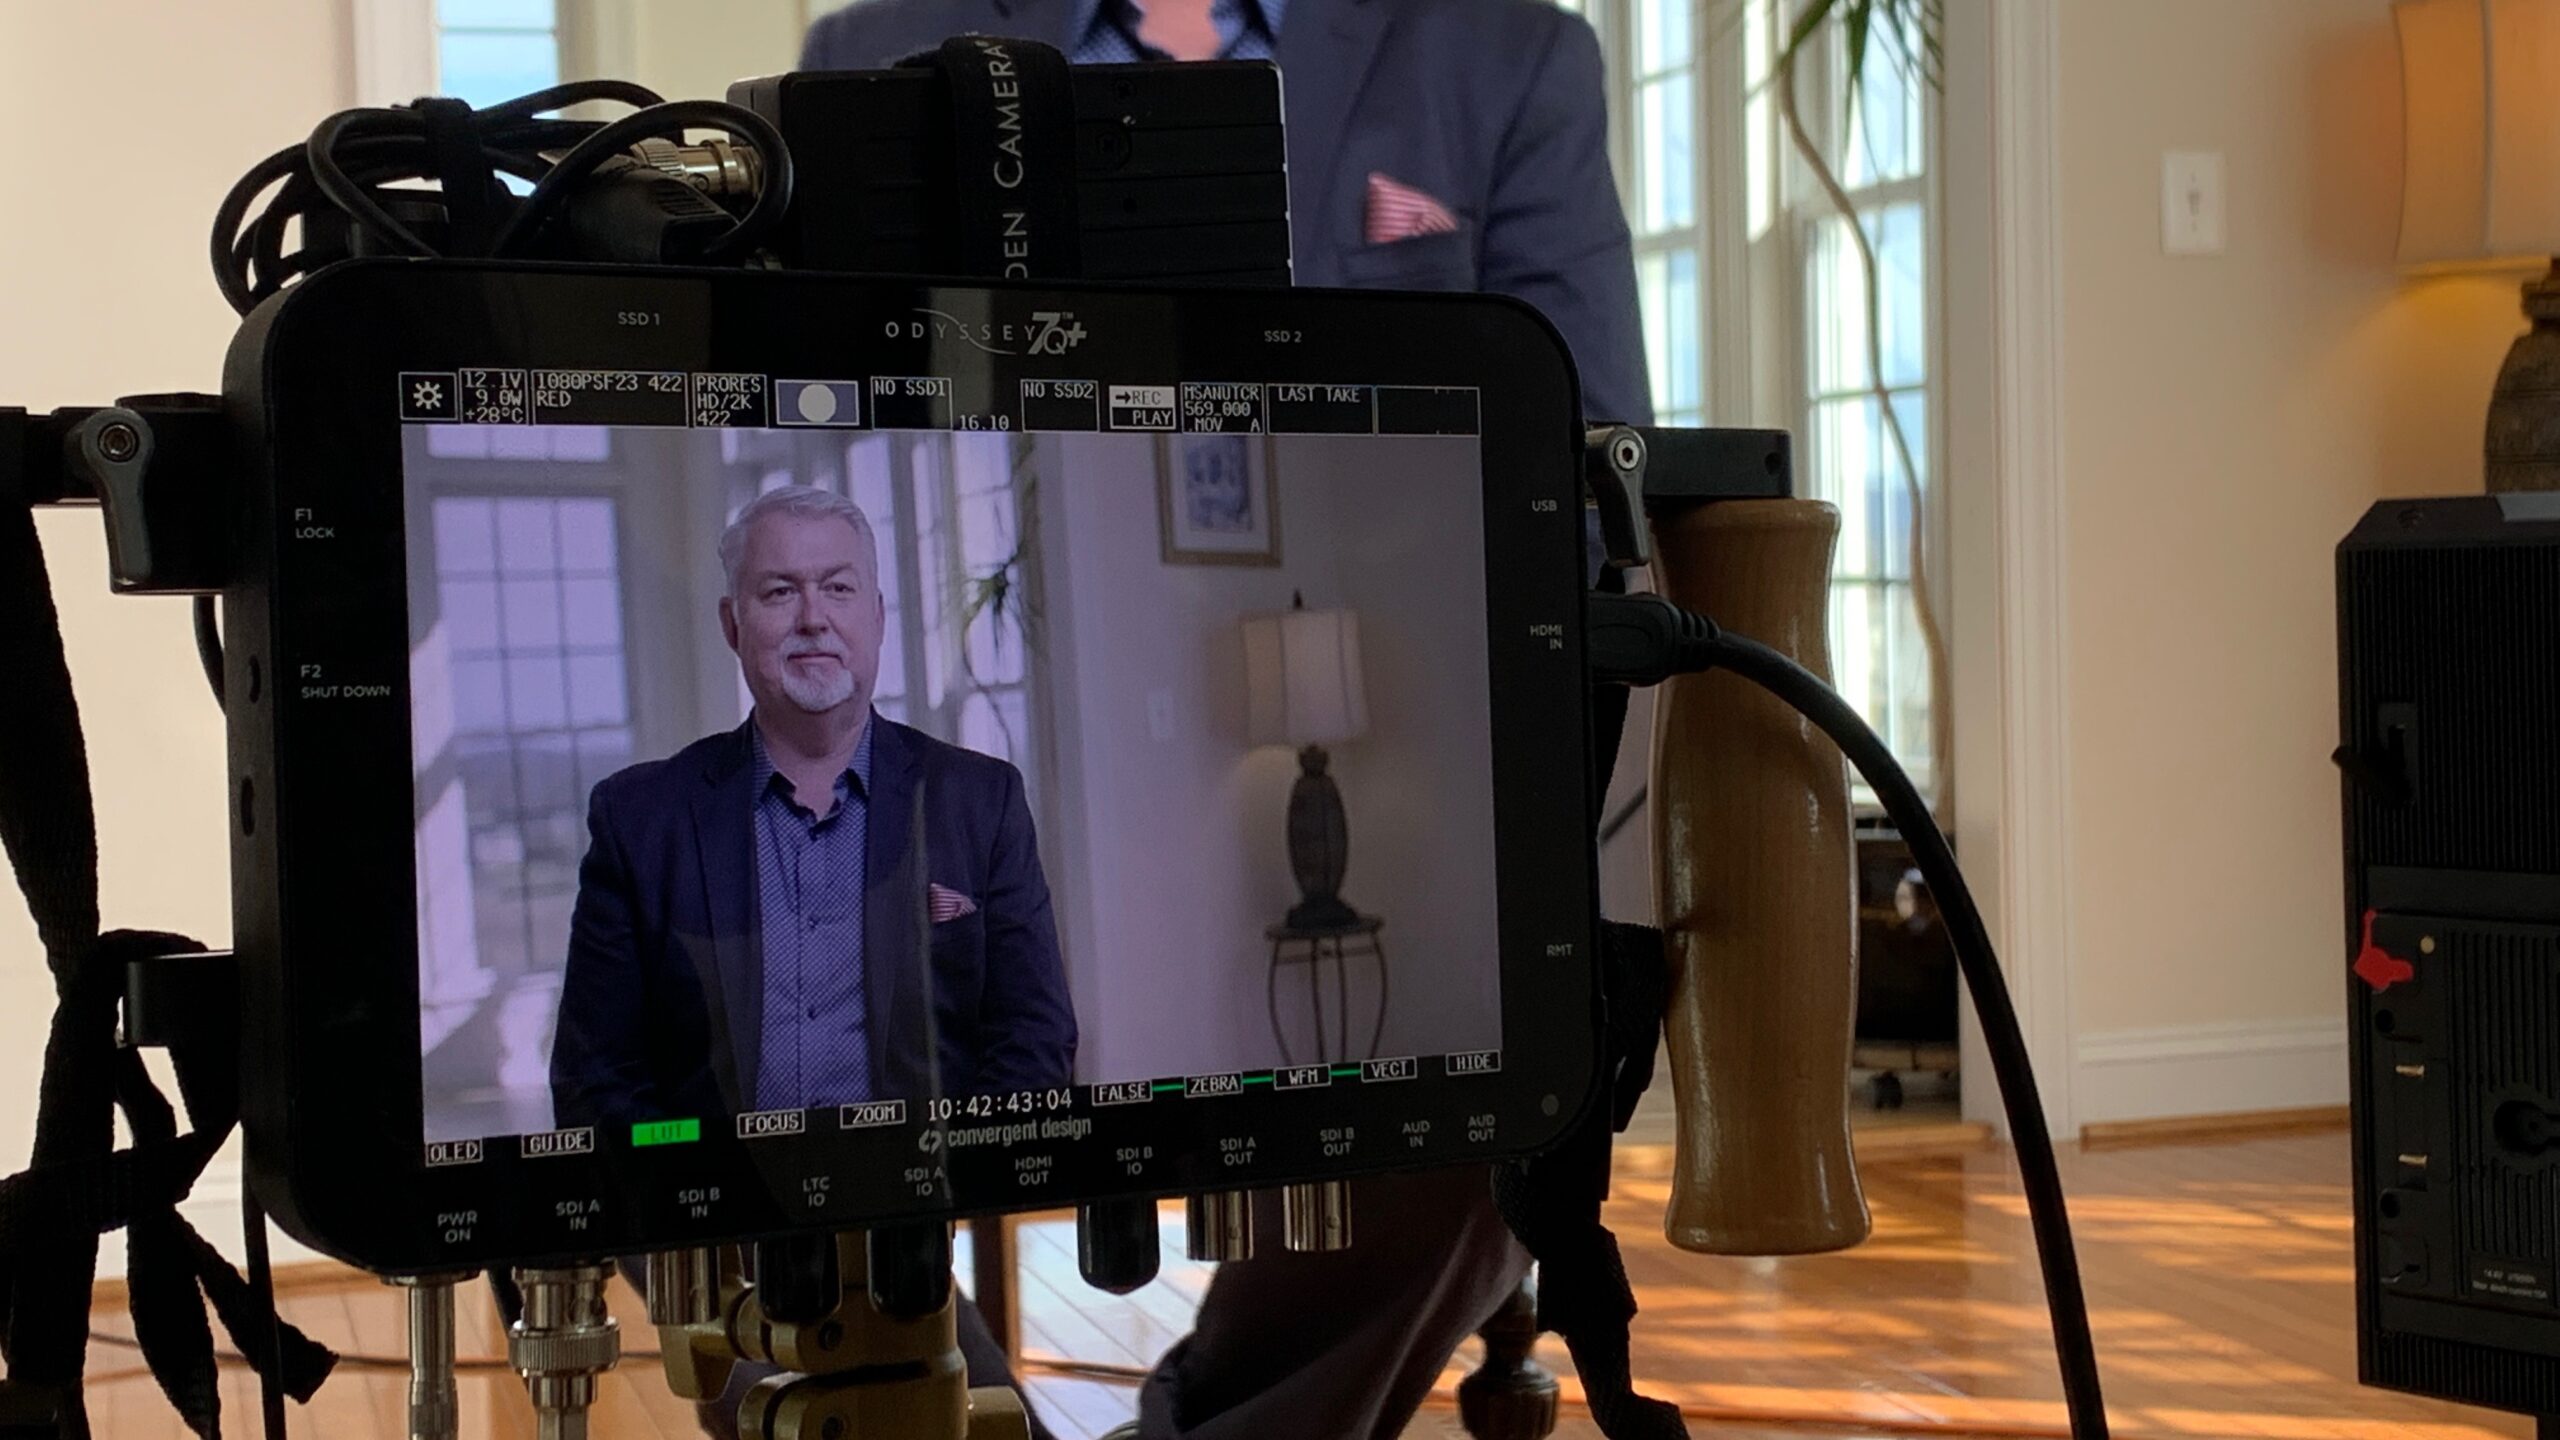
The key light is the strongest source of light that you’ll have on your interview set. You’ll point this light directly at your subject, on the opposite side of the camera in relation to where you expect the subject’s eye line to be. Thus, if you’re filming a talking head video where the camera is to the left of the subject, you’re going to use your key light on the right side to create a balanced video. If you don’t have a lot of lighting equipment to work with, consider filming in a space where there is natural light from a window such that the window can be your key light provided you position your interview subject accordingly.

Setting the Fill Light for a Talking Head Video
You’re going to set your fill light on the opposite side of your key light. However, your fill should not be as bright as the key. In fact, if you’re trying to figure out how to light a talking head video, you’re likely to make your fill light about half as bright or intense as your key. Eliminating the fill, or keeping it quite dark, can add a bit of moodiness to your interview lighting. Likewise, if you’re low on equipment, creating a bounce board or reflector that you can use to bounce key light into the fill space can work in place of a fill light.
Setting the Back Light for a Talking Head Video

Back lighting is the final step in setting your 3-point lighting up as you’re learning how to light a talking head video like a pro. With the backlight, you’re going to light your interview subject from behind and the light is going to be positioned such that it is opposite of the key light so that it creates depth between your subject and the background.
What Not To Do When Learning How to Light a Talking Head Video
While it’s relatively simple to learn how to use 3-point lighting to light a talking head video, there are so many ways that the lighting can go wrong and your audience will suffer. Actually, your brand will suffer if you don’t know how to light a talking head video, too! So here’s a look at what you absolutely should not do when you’re figuring out how to light a talking head video:
- If you’re filming in front of a window, make sure your subject is positioned to the side not directly in front of the window. Otherwise your subject is going to appear black and shadowed which will look bad.
- If you can afford good lighting, or you have the equipment to create good lighting – do it! Never, ever, ever sacrifice quality lighting when producing a talking head video. It’s not worth it!
- Never forget about the comfort of your subject when it comes to placement of lighting. It’s also important to consider subject safety! Lighting can be hot, dangerously hot, and it’s your job to be sure that the lighting isn’t negatively affecting your interview!
- Don’t settle for less when more is going to make your subject stand out better. Likewise, know when to take a less is more approach. Both can work well when it comes to learning how to light a talking head video.
Need more tips on how to light a talking head video like a pro? Give Beverly Boy Productions a call! We can’t wait to help you out!


