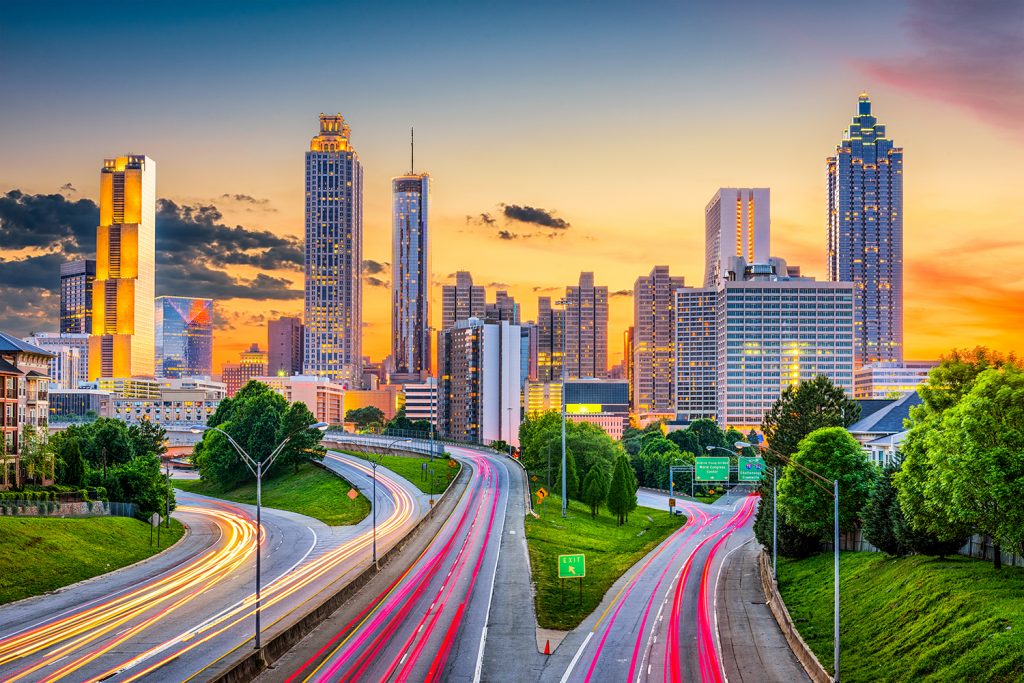
Tips on Shooting Great Time Lapse Video
Time lapse video techniques allow artists to progress through scenes at high speed in a way that depicts hours and hours of showtime in mere minutes or seconds. Do you know how to shoot time lapse video that will capture the attention of your audience? We’ve compiled a list of tips on shooting great time lapse video to help you generate this exciting effect.

Fundamentals of Time Lapse Video Production
First, you must understand the basics of time lapse video production. Videos simply string together still images at a higher rate per second than what you would traditionally view. So for instance, most videos comprise 24-30 frames per second (fps) to produce the image that we see. Therefore, a 10 second video will include 300 frames or photos when filmed at 30 fps.
To create a time lapse video effect, you must reduce the interval between each shot and merge them together into a video. In doing so, a 10 second video that plays at 30 fps with a shot of 1 frame per minute could capture a 5 hour scene. Extending the timing of the video or the timing between shots will extend the total hours of scene capture.

Gather Necessary Equipment
To shoot time lapse video you will need the following equipment:
- A camera that has time lapse video settings and can capture time lapse automatically or manually.
- A tripod that will provide a steady base for your camera.
- An intervalometer or timer that can be remote controlled to make a DSLR exposure at the preferred interval such as every 1 second, or every 5 seconds or some other time of your choice.
- Time lapse video software for your computer to control the camera. Various software programs exist to use on a laptop for professional time lapse video creation.
Consider the following intervals for capturing various types of time lapse video listed below:
- 1 second intervals to capture moving traffic or rapidly moving clouds.
- Use 1-3 second intervals to capture sunsets, sunrises, slow moving clouds, crowds, or the moon and sun near the horizon.
- Use 15-30 second intervals to capture movement of shadows, the sun moving across the sky, or the starts shining in the sky.
- Use 5-15 minute intervals to capture long term projects being completed such as a construction project.

Set Your Camera Up for Time Lapse Video
You have several options when creating time lapse video productions. You should alway set your camera up in manual mode so that it does not attempt to adjust itself as the subject becomes darker or brighter through the time lapse.
Make sure that you do not leave white balance on auto either. White balance should be set to manual so as to show the changes in light that will become part of the time lapse sequence. You don’t want your camera automatically trying to overcompensate for these changes.
Turn Auto Focus OFF! You do not want to see the camera change focus as the time lapse production takes place.

Use Basic JPG Photos
Set your camera up to use basic JPG shots. Hi-res JPG will work best, but make sure there’s plenty of memory on the SD card to capture the number of images to be scheduled for your time lapse production.
Combine Photos Into a Single Time Lapse Video
Once you have taken all of the still images you need it’s time to assemble them into a time lapse video progression. Here’s what you need to do:
- Choose a software that will work for you. Many free and and paid resources are available including: Aftereffects, Premiere Pro, Quicktime Pro, Photolapse, VideoMach, and VirtualDub.
- Once you have downloaded the software you can begin to put together your time lapse video. This will likely require that you upload all of the photos into a single folder and save them for use in the software.
Now that you have the tips on shooting great time lapse video listed above you can begin testing out your skills. Have fun!

