

How to Get Into Real Estate Videography
The demand for real estate videography is growing increasingly. As more clients seek professional videos that portray homes, offices and other commercial buildings in a way that truly connects with potential buyers, there’s no better time than NOW to learn how to become a real estate videographer. We’re showing you how to get into real estate videography in 10 simple steps.
Step 1: Real Estate Videography Education
The times of simply recording a continuous video walkthrough with your smartphone and uploading it to social media where it will outperform all other posts has passed! Professional real estate video production is an art that also includes a little bit of science to back it up. Today, real estate video marketing requires essential gear, an understanding of video composition rules, and the ability to actively engage quality video editing techniques to produce real estate videos that can compete with the 6.2 billion hours of video that are uploaded to places like Youtube every single day.
To learn about real estate videography and to gain some of the most essential real estate video marketing skills that are required for the trade, attend workshops and start checking out professional real estate videos that are performing really well online. As your understanding of the market grows you can consider enrolling in a videography course for added educational background.
Step 2. Stock Up on Videography Equipment
To be the best of the best, you must have top quality equipment. Don’t scrimp and save on your real estate videography equipment. If you must buy on a low budget, consider top quality second-hand items that are gently used and still have a lot of life left to them. In addition to a full-frame DSLR camera, you will also need essential motion control equipment such as tripods and a wide angle lens with focal lengths between 16-70mm to produce the most realistic real estate presentations.
For real estate drone video, a quality drone that can capture aerial shots of the house and the surrounding area will be required. Drones can quickly get expensive and not all camera drones are created equal. Do your homework and shop around to ensure your chosen drone is capable of recording footage that truly adds production value to your real estate videos.
Step 3. Decide on a Desired Output for Footage
Begin by taking footage around your own house. Check out the latest top-quality real estate footage on YouTube and commit to doing your best to recreate the footage using your own home and equipment as samples. Keep practicing until you figure out the key elements to producing a high end real estate video.
As you practice, consider the following:
- Who am I trying to reach? Knowing the target audience is vital to ANY quality video production.
- What message am I trying to send?
- Is raw footage acceptable or should you capture several shots that can be revised later on?
- Will music, voiceovers or other layers be added to the videos?
- Will arial footage be included in the video to keep visitors engaged or will time-lapse vide be?
- Will you include in-town interviews in your real estate video?
Depending on the type of property, your client’s preference, the original contract way have to be adjusted for quality.
Step 4. Create a Portfolio
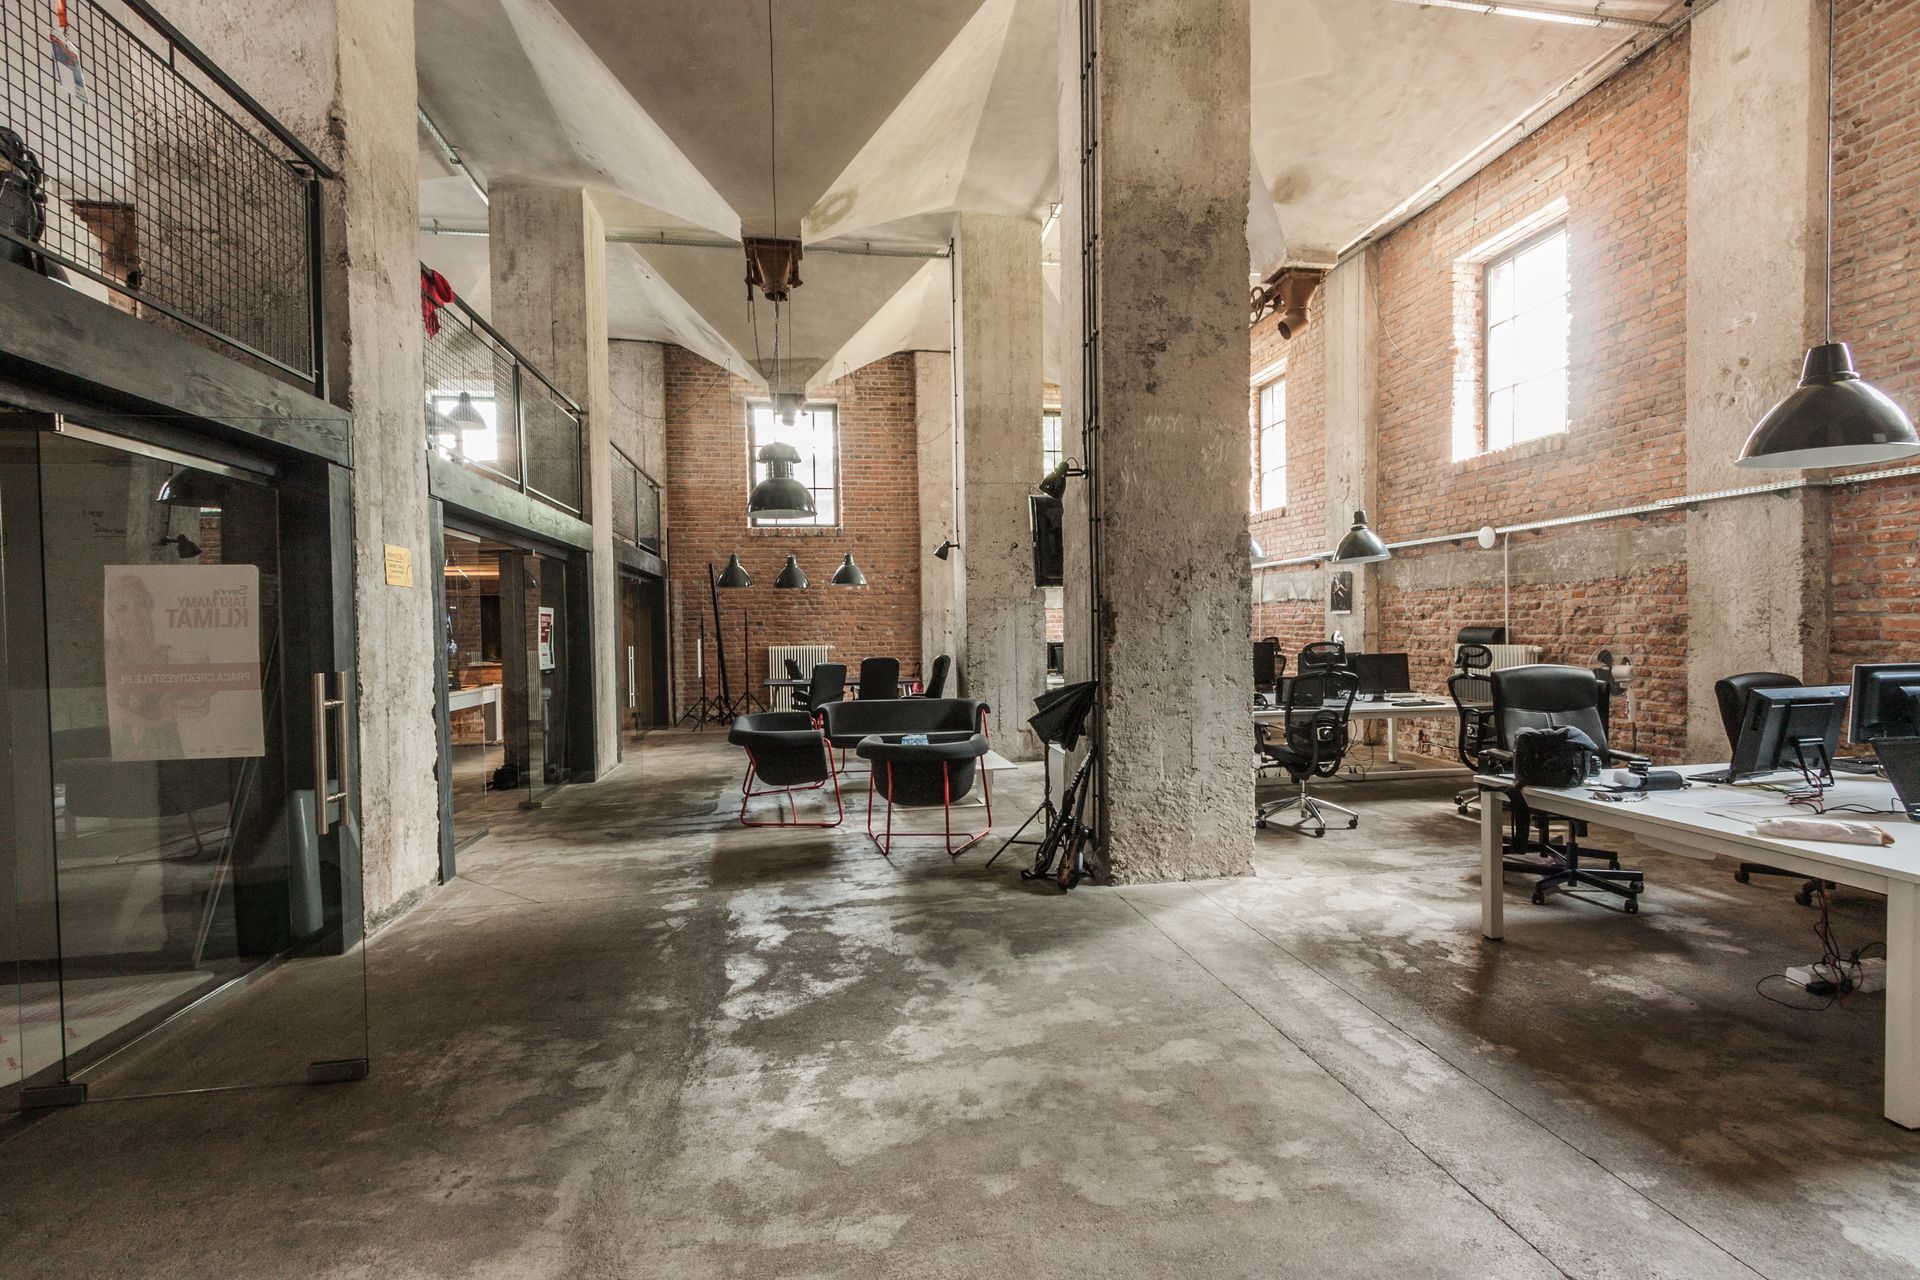
Your portfolio should be a timeless replica of your work showcasing all of the great projects that you’ve completed. Real estate videos are made up of various individual images of featured properties. They are not necessarily complex but they do require the ability to active use natural lighting and other resources to produce the best films.
For every film you create, do so with the intention of including it in your portfolio when done. This will ensure that you remain mindful of the work you create and will help you to stay focused on quality production.
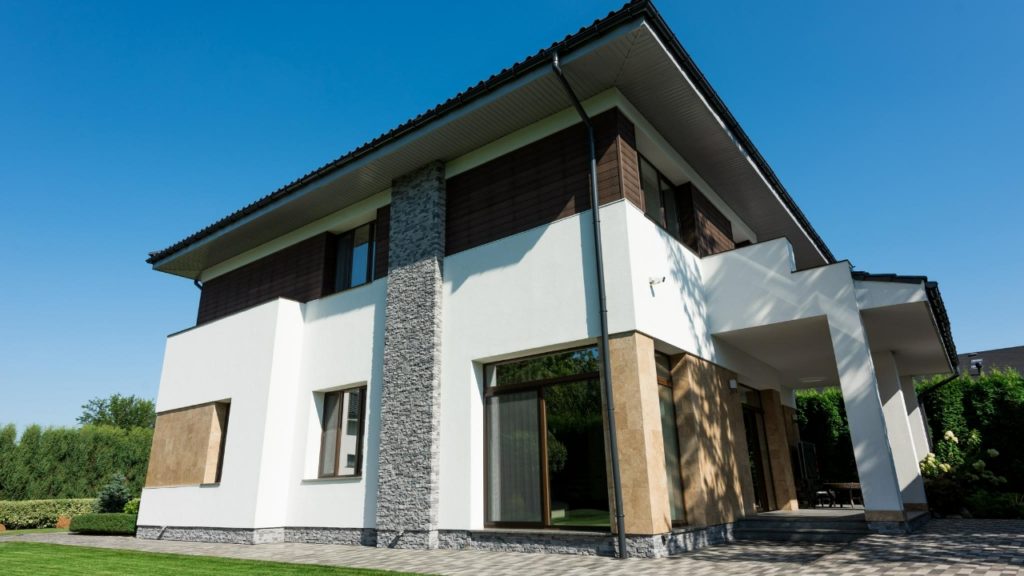
Step 5. Get to Know Properties
Before you shoot, take a tour of the house and talk and walk. This way you can begin to get an eye for any key areas where you should focus your attention and any that you should take steps to avoid or at least spend less time at.
As you walk and talk, consider how you would like your final video to render. Think about important elements of the property and any key data that you can use to create a positive message about the property.

Step 6. Plan Appropriate Lighting
High quality lighting makes a world of difference in your film production, real estate videos included. You should create your video with as much natural light as possible but there will certainly be times where the natural light is limited by things like weather or time of day. If you know natural light will NOT be on your side, be prepared to stage lighting and to use any available lighting that is already on the premises.
Avoid consistently shooting shadows. Aim for shooting on a bright day that has a few, but not many, clouds to diffuse the light.
Step 7. Prepare for your Shoot
You may think, it’s real estate; I don’t need to plan–WRONG! Before you film the real estate video, take a walk through and be sure to make common requests to ensure the property is above your filming standards.. Don’t be afraid to ask for:
- Tabletops and counters to be cleaned and decluttered.
- People and pets to be removed from the room before filming.
- Personal pictures to be removed from walls and other areas.
- Bed sheets to be smoothed and well kept
- Cushions and pills to be fluffed.
- Doors, toilets, and other access ways to be closed.

Step 8. Make a Commitment to Quality
Whether you film 1 video or 100 videos you should always be committed to quality. Even if you are working with a client that doesn’t have high expectations for the content you are producing it is important for you to stick to your own values and to produce a real estate video that meets or exceeds the level of quality that is normal for you.
Avoid the following:
- Mixing clips in a way that takes away from the natural flow of walking through the house.
- Repeating shots and becoming redundant.
- Showing a particular room too much.
- Continuous pan and slide – slow it down and don’t do it over and over.
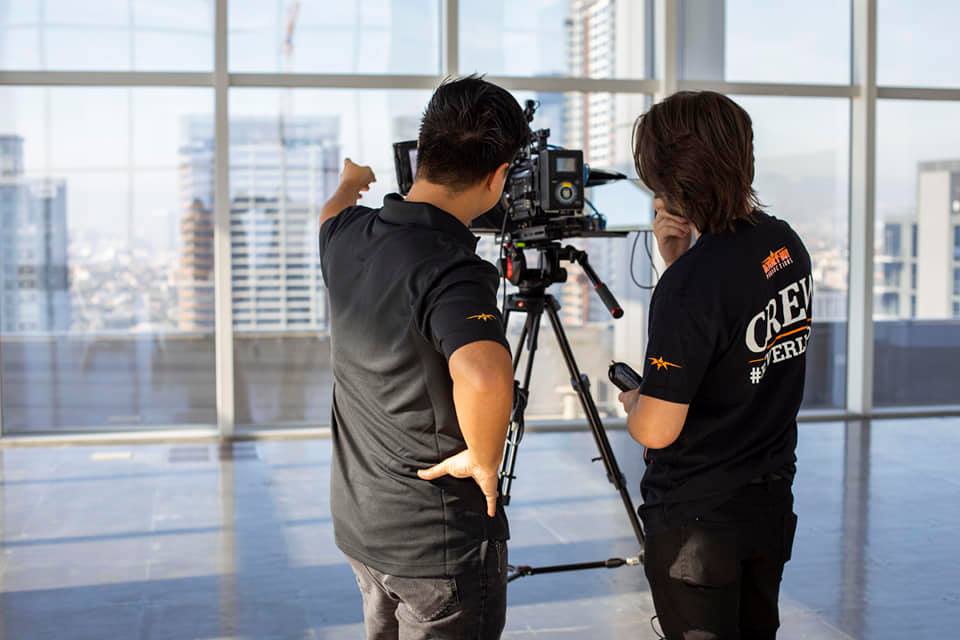
Step 9. Develop a Real Estate Videography Team
Sometimes, even the best intentions are not enough to complete a complex project without support. You may want to hire filmmakers that can help you get the real estate video of your dreams. At Beverly Boy Productions, we offer several services that can aid in the production of your real estate marketing videos. If you’re not ready to become a videographer, or you see yourself in front of a project that is simply too large to tackle alone, consider bringing on a team of producers to help.
Step 10. Adhere to Contracts
As you progress and become an active real estate videographer chances are you will have several clients that you work with under contract. Be mindful of the contract and the details that are included in it. Don’t forget to tell clients they must clean the day before the shoot and that rescheduling a shoot due to inclement weather is ill desired.
Make sure that you contract clearly outlines your wishes and includes key details regarding scheduling, equipment, workload and other factors that could later come into question if they are not clearly explained.
Provide contact information on your contract so that clients can come to you with any questions they may have.
Following these steps will help you as you figure out how to get into real estate videography. It’s a competitive, but rewarding field that allows you to use your love of architecture and art in a way that provides a positive return.